Makeup Sponges 101: Tips and Tricks for Beginners
July 06,2023
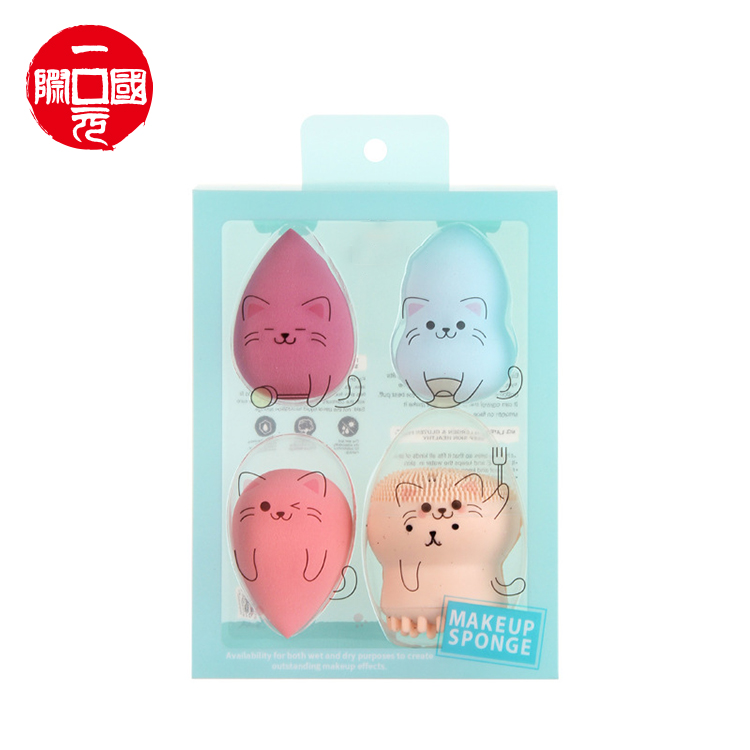
Makeup sponges have become an essential tool in every makeup lover’s collection. These versatile tools can help achieve a flawless and airbrushed finish, making them a must-have for beginners and professionals alike. In this blog post, we will provide you with a comprehensive guide to makeup sponges, including tips and tricks to help you make the most out of these handy tools.
Understanding Different Types of Makeup Sponges:
There are various types of makeup sponges available in the market, each with its own unique features. The most common types include traditional latex sponges, non-latex sponges, and beauty blenders. Understanding the differences between these types will help you choose the one that suits your needs and preferences.
Dampening Your Makeup Sponge:
Before using a makeup sponge, it’s crucial to dampen it. This step ensures that the sponge doesn’t absorb too much product and helps achieve a seamless application. Run the sponge under water and squeeze out any excess moisture until it becomes slightly damp. This will allow the sponge to expand and provide a more even and natural finish.
Applying Foundation with a Makeup Sponge:
One of the most popular uses for makeup sponges is applying foundation. To achieve a flawless base, apply a small amount of foundation onto the back of your hand or directly onto the sponge. Then, gently dab and bounce the sponge onto your skin, starting from the center of your face and working your way outwards. This technique helps blend the foundation seamlessly and provides an airbrushed finish.
Concealing and Blending:
Makeup sponges are also great for applying and blending concealer. Apply a small amount of concealer onto the desired areas and use the pointed tip of the sponge to gently blend it into the skin. The soft and bouncy texture of the sponge ensures a smooth and natural-looking finish, especially for delicate areas like under the eyes.
Contouring and Highlighting:
Makeup sponges can be used for contouring and highlighting as well. Apply a cream or liquid contour product onto the areas you want to define, and use the sponge to blend it out. The rounded sides of the sponge are perfect for seamlessly blending the product into the skin, creating a sculpted and natural appearance. Similarly, you can use the sponge to apply and blend liquid or cream highlighter for a radiant and glowing finish.
Cleaning and Maintaining Your Makeup Sponge:
Proper cleaning and maintenance are essential to prolong the lifespan of your makeup sponge. Regularly wash your sponge with mild soap or a dedicated sponge cleanser to remove any product buildup and bacteria. Gently squeeze and rinse the sponge until the water runs clear, then let it air dry in a well-ventilated area. Avoid wringing or twisting the sponge, as this can damage its texture.
Experimenting with Different Techniques:
Don’t be afraid to experiment with different techniques and angles when using a makeup sponge. Try using the pointed tip for precise application, the rounded sides for blending larger areas, and the flat edge for smoothing out any harsh lines. Play around with different pressures and motions to find what works best for you and your desired makeup look.
Conclusion:
Makeup sponges are versatile tools that can elevate your makeup application to the next level. By understanding the different types of sponges, dampening them properly, and utilizing various techniques, you can achieve a flawless and professional-looking finish. Remember to clean and maintain your sponge regularly to ensure its longevity. With practice and experimentation, you’ll become a pro at using makeup sponges and achieve stunning makeup looks effortlessly.